Air Layering: How to Root Woody Houseplant Stems Without Cutting Them Off First
Why Air Layering Beats a Plain Cutting on Woody Stems
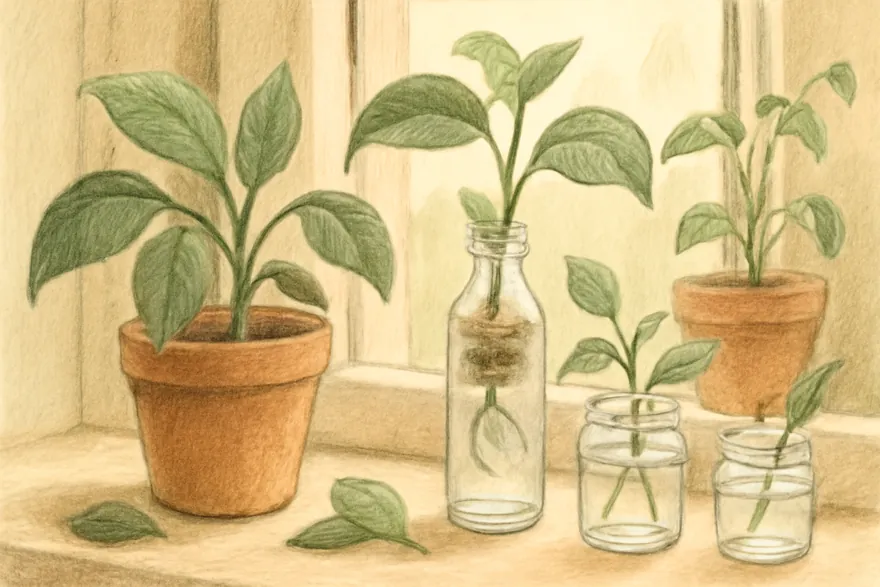
A stem cutting from a soft-tissue plant like pothos or coleus roots in water within one to two weeks because the tissue is thin and forgiving. A woody stem from a rubber plant, fiddle leaf fig, dracaena, croton, or money tree behaves differently: the same water-glass approach often rots the cut end before a single root forms, because thick woody tissue takes far longer to callus and the wound sits underwater the whole time, starved of oxygen. Air layering solves this by wounding the stem partway, packing damp moss directly over the wound, and leaving the stem attached to the mother plant the entire time roots are forming. The parent plant keeps feeding the stem water, nutrients, and sugars through the still-intact core of the stem while the wounded surface layer grows its own root system. Only after roots are visibly established do you cut the new plant free — you are never gambling on an unrooted piece of wood surviving on its own.
This method is also the standard fix for a leggy houseplant: a rubber plant that has grown six feet tall and bare at the bottom, or a dracaena with all its foliage crowded at the top of a long cane. Air layering lets you reset the top as a fresh, full plant while the original pot often pushes new side shoots below the old wound.
Choosing the Stem and the Season
Pick a stem section between pencil-thick and thumb-thick, roughly 6 to 18 millimeters across. It should be semi-hardwood: firm enough to snap cleanly rather than bend limply, but not yet grey and fully hardened old bark. Work 8 to 12 inches back from the growing tip, choosing a spot below at least two or three healthy leaf nodes, so the section above the wound still has enough leaves to photosynthesize and keep pulling resources down toward the cut.
Timing matters more than most guides admit. Do this during active growth — spring into summer for most indoor tropicals kept at stable room temperature. A stem that is not actively pushing new growth calluses slowly or not at all, and a layer started in the dead of winter can sit for months with nothing to show for it.
Making the Wound and Wrapping It
You need a sharp clean knife or blade, a fist-sized handful of sphagnum moss dampened and then wrung out until it stops dripping, plastic wrap or a cut-open plastic sandwich bag, twist ties or electrical tape, rooting hormone powder or gel, and optionally a sheet of aluminum foil.
- Girdling ring — best for straight upright growers like rubber plant, fiddle leaf fig, dracaena, and money tree. Cut two parallel rings around the stem about 1 to 1.5 inches apart and remove the bark between them completely. Then scrape away the slippery green cambium layer underneath down to bare pale wood. This second step is the one people skip, and it is the one that matters most — if any cambium is left, the bark bridges back over the gap within weeks and no roots ever form.
- Tongue cut — gentler option for stems prone to snapping, such as croton or thin variegated growth. Slice upward into the stem at a shallow angle, about a third of the way through, then prop the cut open with a toothpick or a small wad of moss so it cannot heal shut.
Dust the exposed wound with rooting hormone, then pack the damp moss ball firmly around the whole cut area. Wrap plastic around the moss like a candy wrapper, twisting and securing both ends above and below the moss ball so no moisture escapes and no rain or tap water gets in. If the stem sits in direct sun, wrap a layer of foil over the plastic — clear wrap alone lets algae grow in the moss and dries out faster than you would expect.
Waiting It Out and Reading the Roots
Check in at three to four weeks by peering through the plastic rather than unwrapping fully. Expected timelines vary widely by species:
- Rubber plant and fiddle leaf fig: 6 to 10 weeks
- Money tree: 6 to 10 weeks
- Croton: 8 to 12 weeks
- Dracaena (corn plant and similar canes): 8 to 14 weeks
Roots are ready when you can see them through the moss and plastic as white to tan, firm strands filling a good portion of the moss ball — not just one or two thin threads. If the moss dries out between checks, unwrap briefly, mist it back to damp, and re-wrap; don't let it stay bone-dry for more than a couple of days or the young roots can desiccate. If the moss smells sour or feels slimy, it has stayed too wet — open it up, let it air out for an hour, and rewrap slightly looser. If nothing has happened by roughly double the expected time and the wound looks callused smooth again, the cambium likely wasn't fully scraped the first time; redo the ring a bit lower on the stem.
Cutting Free and Potting Up
Once the root mass looks solid, cut the stem with clean sharp pruners just below the root ball — never through it. Unwrap the plastic carefully and leave the moss mostly intact around the roots rather than teasing it apart; the new roots are brittle at this stage and the moss is doing them a favor by holding them together. Nestle the whole moss-and-root clump into a pot of well-draining mix, such as a standard potting mix cut with extra perlite.
Keep the new plant under a loose humidity tent — a clear bag propped up with a few stakes works fine — for two to three weeks while the roots transition from the pampered moss environment to real potting mix. Keep it out of direct hot sun during this window and mist occasionally. A rubber plant or fiddle leaf top with several mature leaves is heavy relative to its brand-new root system, so stake it if it leans. Back on the mother plant, the old wound typically calluses over on its own, and it's common to see one or two new side shoots break just below the scar — a bonus way to fill back in a plant that had gone bare and cane-like.