Using Humidity Domes to Root Cuttings on Your Windowsill Without Inviting Rot
Fresh cuttings lose water through their leaves far faster than a stub with no roots can replace it, and that mismatch is what kills most propagation attempts before rot ever enters the picture. A humidity dome slows that water loss by trapping moist air around the cutting, buying the two to six weeks a plant needs to grow new roots. Used well, a dome is the cheapest upgrade you can make to a windowsill propagation station. Used carelessly, it becomes a sealed incubator for gray mold and stem rot.
Why a Dome Helps and When It Does Not
A leafy stem cutting with no roots has no way to pull up replacement water, so every leaf pore that stays open is a slow leak. Enclosing the cutting raises the surrounding humidity toward 90 to 95 percent, which narrows the gap between the air inside the leaf and the air outside it. Less of a gap means less water pulled out through the stomata, so the cutting can hold its leaves upright and green while it works on roots underground.
Not every cutting benefits from this. Succulents, cacti, and thick-leaved plants like jade, echeveria, and snake plant store enough water in their own tissue that they root better in dry, open air; a dome on a succulent leaf usually causes the cut end to rot before it even calluses over. Fast, willing rooters such as pothos, coleus, and tradescantia will root in a glass of plain water with no cover at all, so a dome there just adds fungal risk with no real benefit. Save the dome for cuttings that are genuinely leaf-heavy and prone to wilting: hoya, fiddle leaf fig, rubber plant, African violet leaves, and softwood herb cuttings like basil or mint that still have several leaves attached.
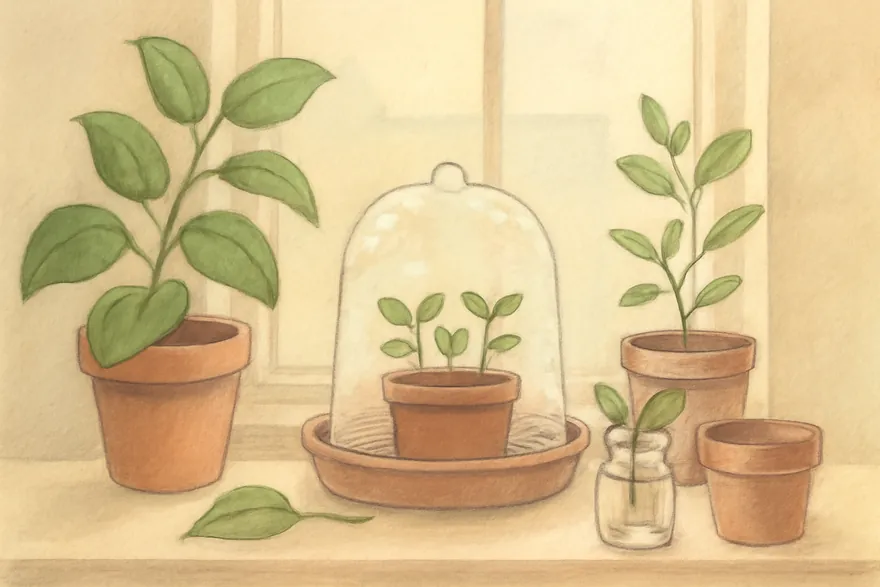
Building a Dome That Actually Fits Your Windowsill
You do not need a purpose-bought propagator. Three setups cover almost every windowsill situation:
- Cut soda bottle: slice the bottom off a two-liter bottle, leave the cap loose (not screwed tight), and set it over a single small pot. Good for one or two stem cuttings.
- Propped plastic bag: stand two or three chopsticks or bamboo skewers in the pot and drape a clear bag over them so the plastic never touches a leaf. Works well for a whole tray at once.
- Clamshell produce container: the kind salad greens or berries are sold in already has small ventilation slots, which makes it one of the most forgiving options for a first attempt since it never seals fully airtight.
Whatever you use, keep the plastic off the leaves themselves. Wet leaf tissue pressed against condensation-covered plastic is one of the fastest routes to a rotted spot, since water sits on the leaf surface for hours instead of drying off. Leave at least an inch of clearance on every side, and pick a container tall enough that new growth will not hit the ceiling right away.
Reading Condensation and Setting a Venting Schedule
Condensation on the inside of the dome is a better humidity gauge than any hygrometer sitting outside the enclosure. A fine, even mist of tiny droplets across the plastic means the humidity is in a good working range. Heavy droplets running down the sides and pooling at the base mean the trapped air is saturated and stagnant, which is exactly the still, wet condition fungal spores need in order to germinate.
A simple daily routine keeps that from happening:
- Lift the dome fully off, rather than just cracking a corner, once in the morning and once in the evening.
- Let it sit off for 10 to 15 minutes so the air genuinely exchanges instead of just shifting around inside.
- Wipe the inside of the plastic dry with a paper towel if you see heavy dripping condensation, then replace the dome.
- Add a third venting session on any day the room feels warm or the condensation looks heavier than usual by midafternoon.
Watch the window itself, not just the dome. A south- or west-facing pane in direct sun can push the trapped air under a clear dome past 90 degrees Fahrenheit by early afternoon, effectively cooking the cutting even though the room outside feels comfortable. Bright, indirect light roots cuttings just fine, so keep the dome a foot or two back from glass that gets direct midday sun, or diffuse it with a sheer curtain.
Keeping Fungal Rot Out of the Equation
Almost every dome failure traces back to one of three causes: standing water in the saucer, dead leaf matter left touching the stem, or a substrate that stays soggy instead of just evenly moist. Start with a well-draining mix of perlite and either coco coir or vermiculite rather than straight potting soil, which holds far too much water for the low light and low airflow under a dome. Water the mix until it is evenly damp, then pour off anything that collects in the saucer within twenty minutes; a cutting sitting in standing water for days rots faster than one that runs slightly too dry.
Strip any leaf that would otherwise touch the soil surface or press against another leaf, since these contact points are where gray mold typically gets started. Check the cutting daily for warning signs:
- A translucent, water-soaked patch appearing on the stem near the soil line.
- A fuzzy gray or white coating on a fallen leaf or a leaf touching the substrate.
- A sweetish, mildewy smell as soon as you lift the dome.
- A stem that has gone soft and dark rather than staying firm and green.
Remove any affected leaf or cutting immediately rather than waiting to see whether it spreads, and wipe the inside of the dome with a cloth dampened in a weak solution of one part hydrogen peroxide to three parts water. A light dusting of ground cinnamon on a fresh cut end is a genuinely useful folk remedy with mild antifungal properties, though treat it as a supplement to good airflow and clean water, not a substitute for either.
Weaning the Cutting Off the Dome
Most leafy stem cuttings show a light tug of resistance when you gently pull upward by day ten to fourteen under a dome; that resistance means roots have started anchoring into the mix. Wait until you can see white root tips through the drainage holes, or feel that same resistance on two separate checks a few days apart, before you start removing the dome. New roots are still learning to pull their own water, and a sudden jump to dry room air can undo weeks of progress in a single afternoon.
Step the dome off gradually instead of pulling it away all at once: extend the daily venting time by 15 to 20 minutes every two or three days. By the time the cutting sits in open air for two to three hours with no wilting, it is ready to live outside the dome permanently. This step-down takes five to seven days and is worth the patience: a cutting that wilts hard right after its dome comes off too fast can lose roots it just spent a month growing.